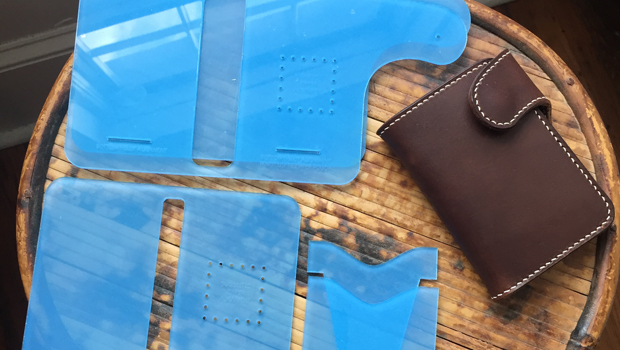
This is a quick build video and instructions for the Vertical Snap Wallet acrylic and PDF template set. If you wish to purchase the template:
PDF Version
- Vertical Snap Wallet Acrylic Template Set (8.5″ x 11″)
- Vertical Snap Wallet Acrylic Template Set (A4)
- ETSY – Vertical Snap Wallet Acrylic Template Set (8.5″ x 11″)
- ETSY – Vertical Snap Wallet Acrylic Template Set (A4)
Looking to start selling your handcrafted leather goods and need an e-commerce platform? We recommend you start with what we use here at Makesupply… Shopify!
Video Inventory
- 36″ x 24″ Self Healing Cutting Mat
- Hand Press Punching Machine
- Table Clamp Stitching Pony
- 4″ YKK Zipper
- No.2 X-ACTO Knife
- Wood Slicker
- Leathercraft Glue
- Wing Divider
- C.S. Osborne Scratch Awl
- Crimson 3.85mm Diamond Stitching Chisels
- John James Stitching Needles
- Generic Sandpaper – 320 grit
- Amy Roke 532 Thread – White
- Tokonole Burnishing Gum
- Seiwa Edge Beveler (#1)
- Barry King Maul (24 oz)
- Punching Slab
- Hollow Hole Punch Set
- Line 20 Snaps
- Line 20 Snap Setter Dies
- BG Hand Press
Instructions
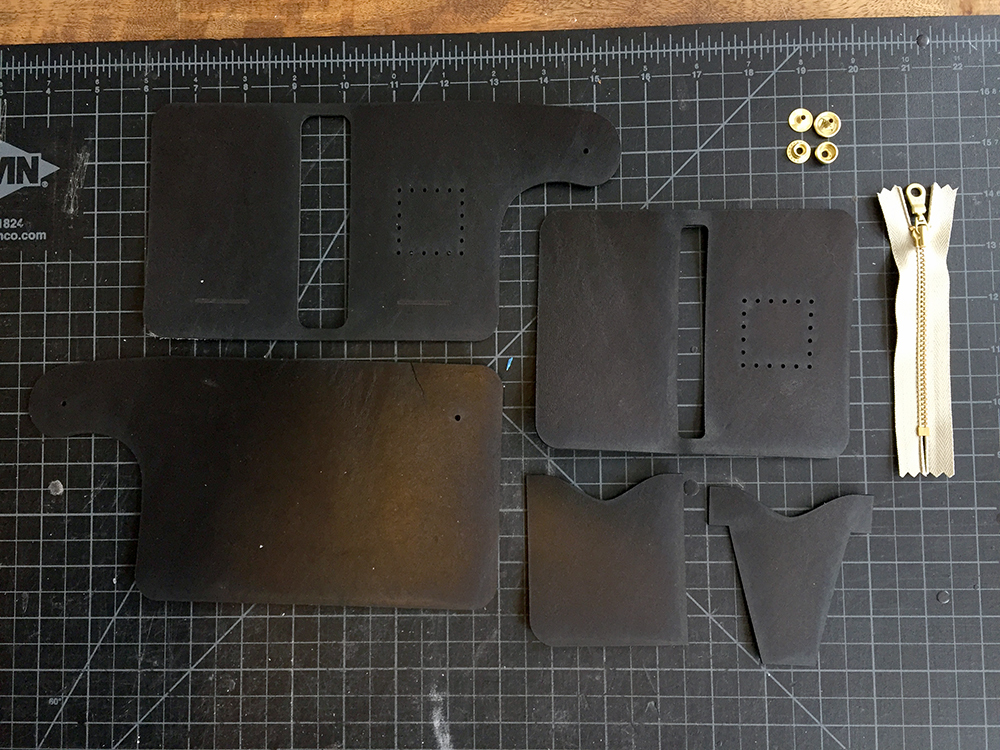
1. Cut out all pieces
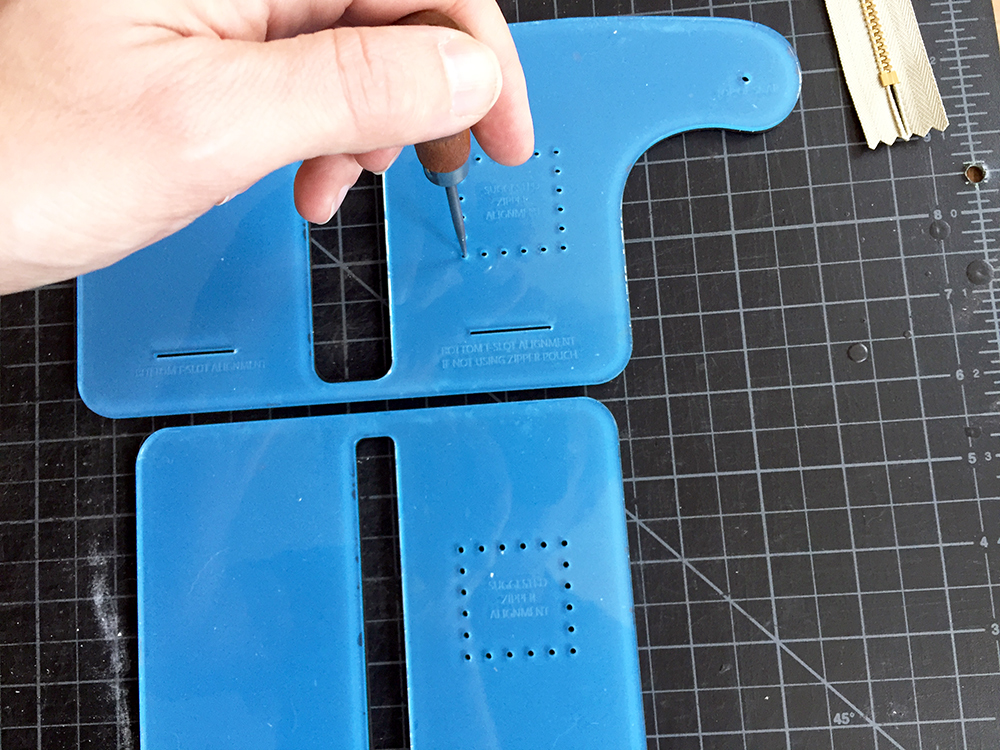
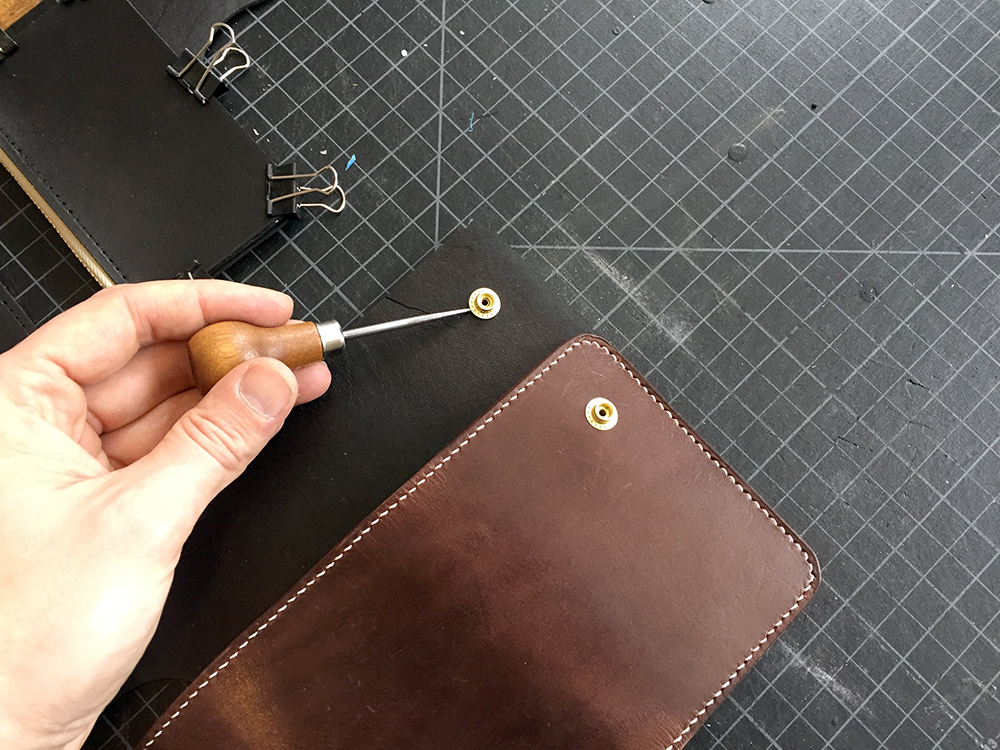
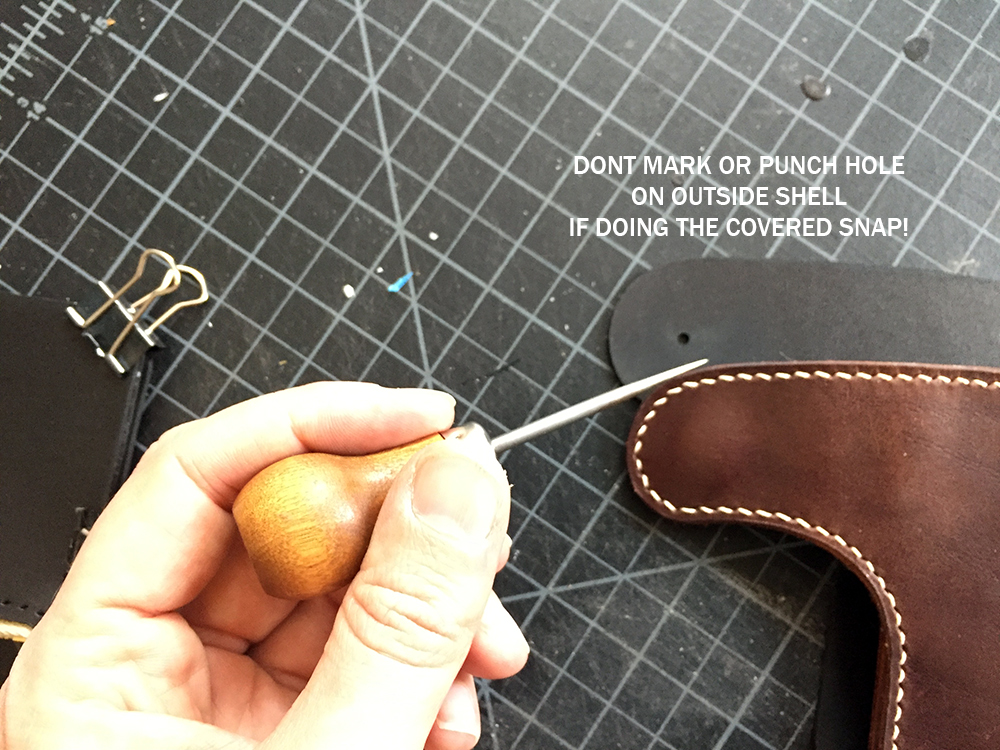
Cut out all of the pieces and mark the holes for snap placement. If you are doing a “hidden snap” like in the product model example, do not mark and punch the hole on the outer shell. The holes marked on the zipper pouch and the inside shell are our suggest attachment areas. You do not have to use them.
2. Add zipper to zipper compartment
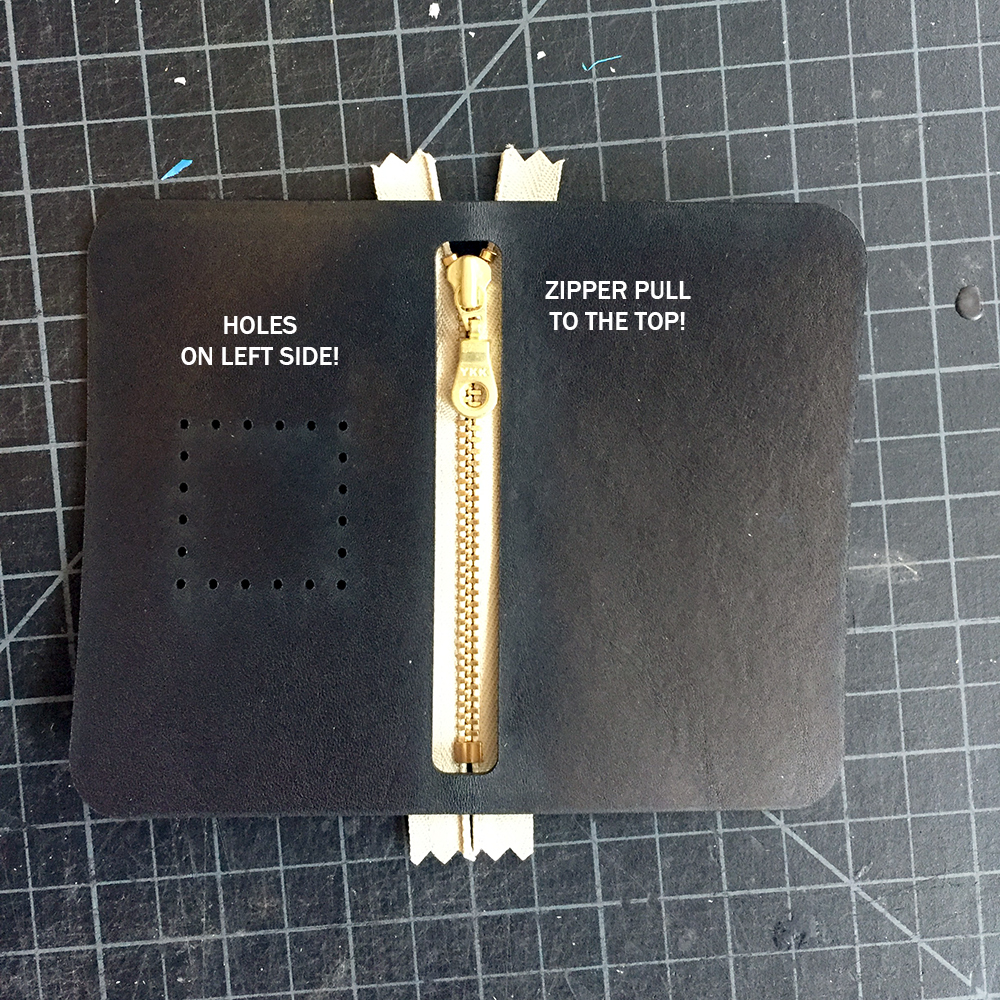
Attach the zipper inside the zipper compartment. I usually add a little bit of glue first and stitch after it has dried. Make sure that the zipper is centered all the way top to bottom. Once stitched, trim the excess zipper tape off.
3. Attach T-Slot and bottom card slot
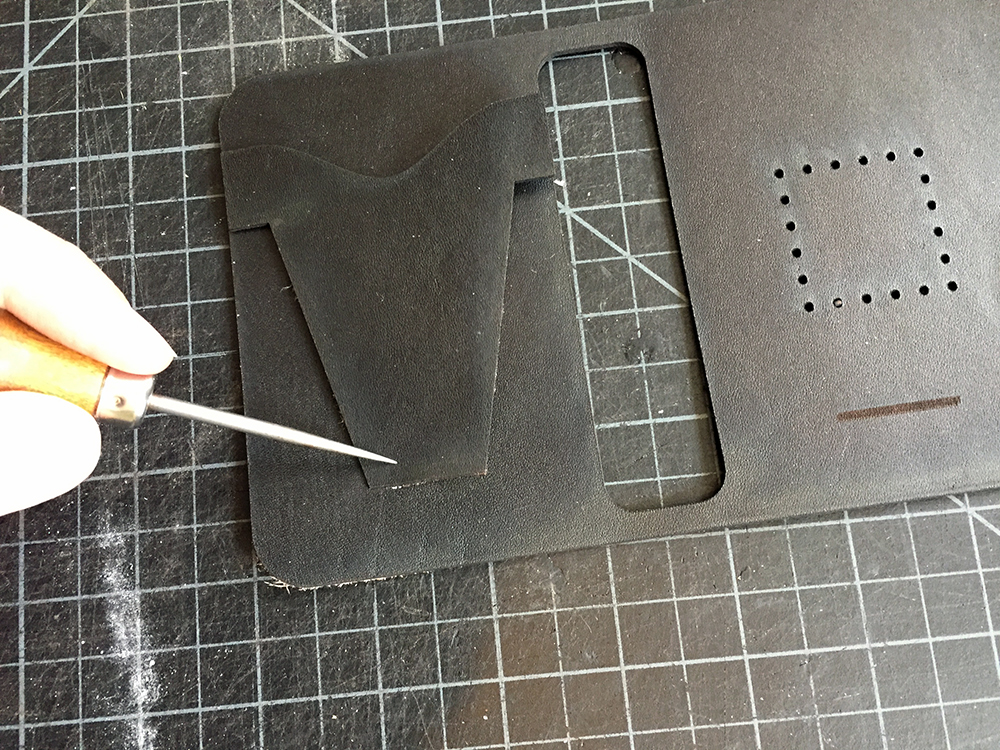
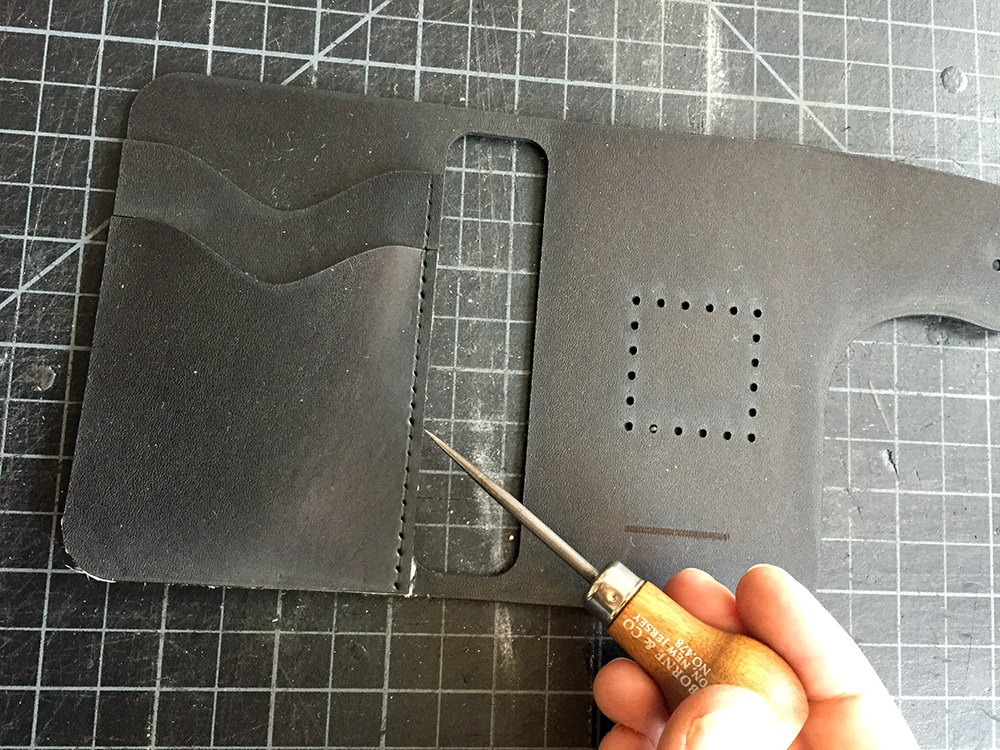
Set your zipper compartment aside and turn to the card slots. Glue and stitch the bottom of the t-slot to the appropriate marking on the inner shell. Next, glue the bottom card slot in place. After glue has dried, stitch the right hand side down along the cash slot area.
4. Attach zipper compartment to inner shell
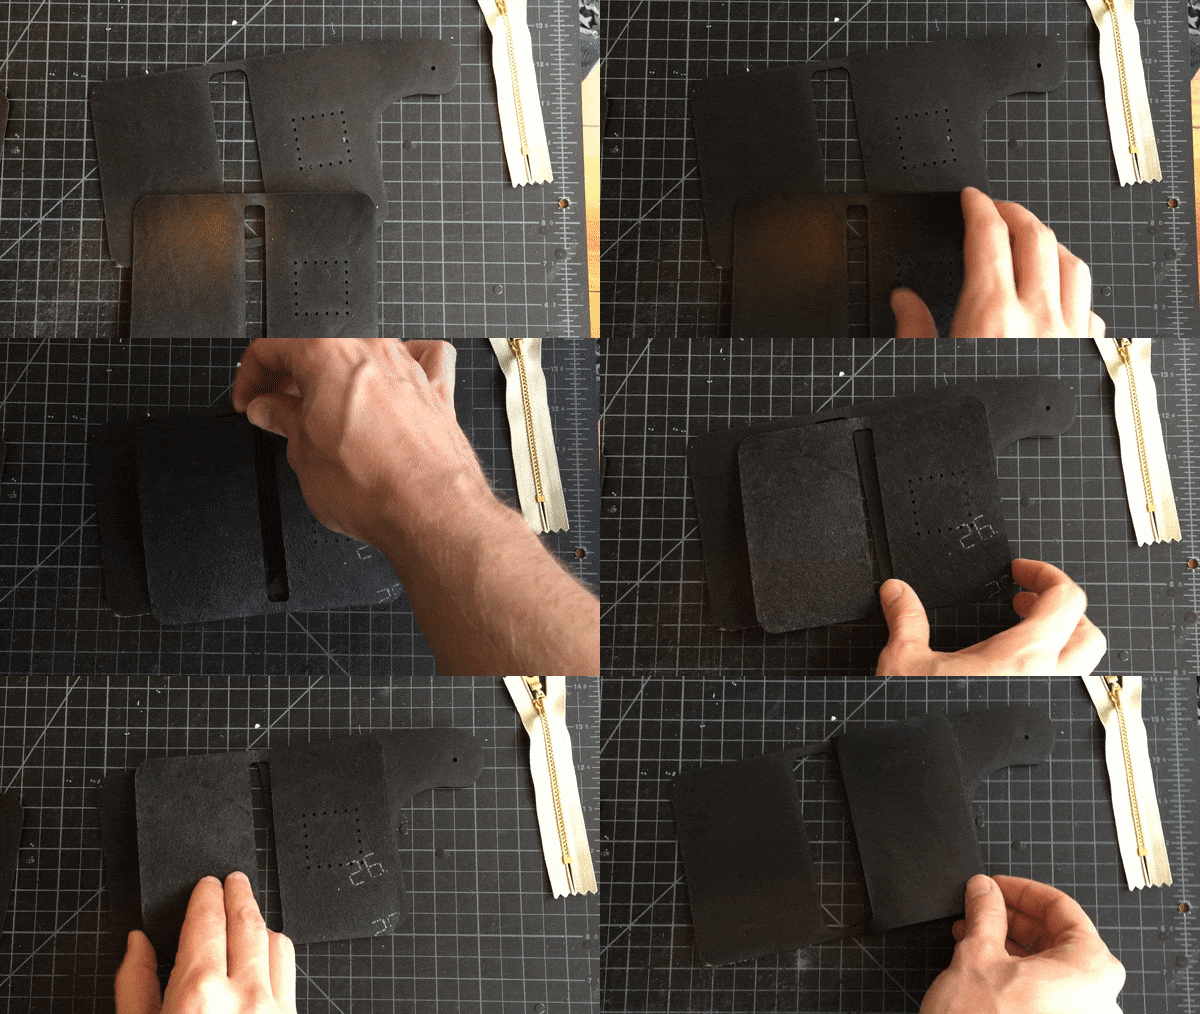
This is the most confusing part. You will be connecting the holes from the zipper compartment and the inner shell. You MUST do this step first before folding the zipper compartment and sewing it shut. Punch through the holes and align together.
5. Stitch closed the zipper compartment
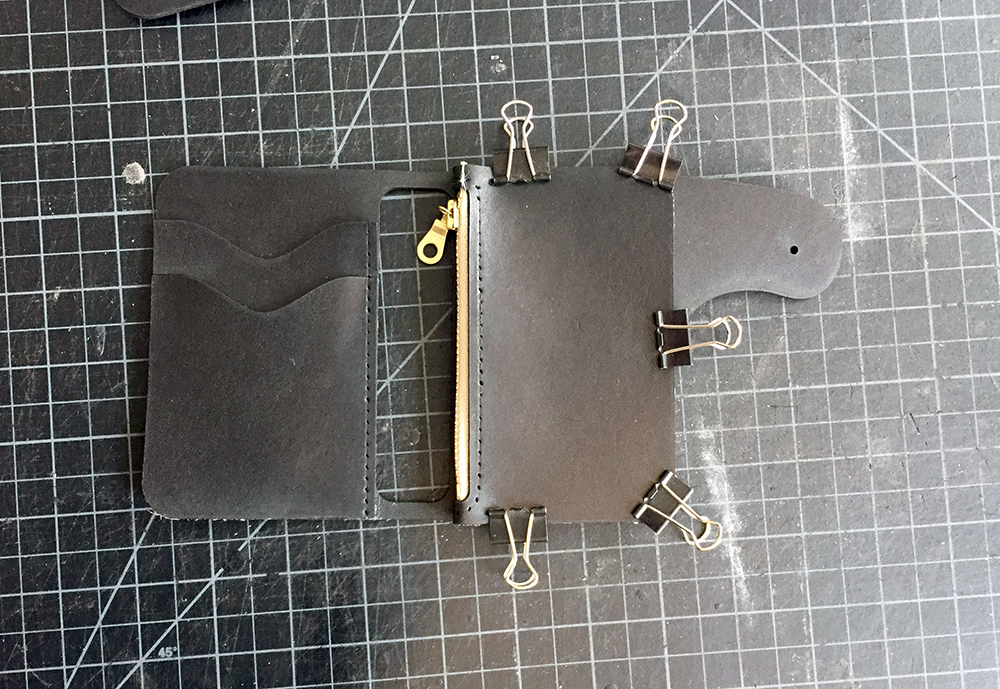
With the back of the zipper compartment attached to the inner shell, now is time to glue and stitch closed the container. Remember, when punching your holes be sure to avoid hitting the inner shell below!
6. Attach snaps fasteners
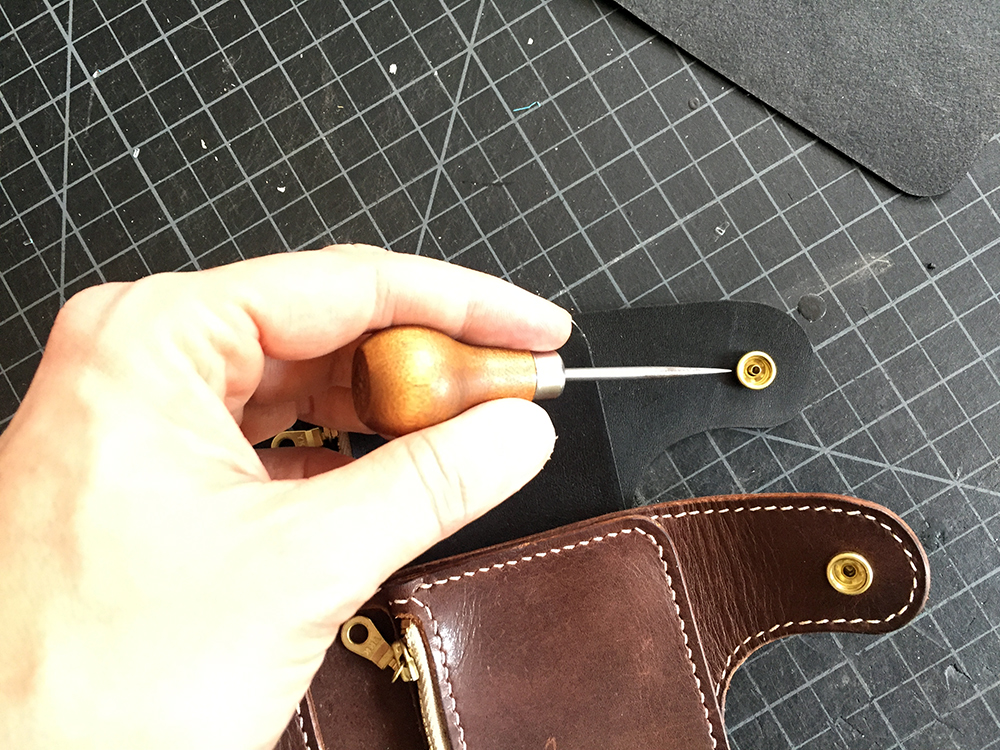
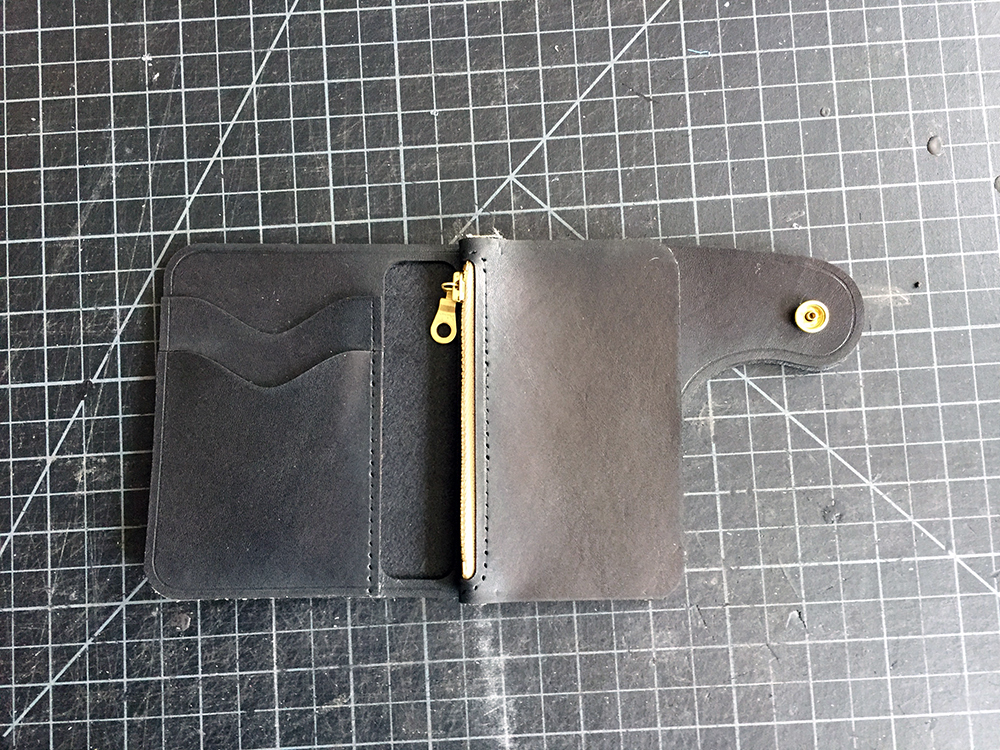
Now is time to attach the snap fasteners. Review the photos below to show which pieces of the snaps belong on which section.
7. Attach outer shell
The last step is to attach the outer shell. Lightly glue down the outer shell and let dry. Trace your stitching groove on the outside (or both sides like I do) and mark your holes. Punch your holes through taking extra special care around the zipper section. If using an awl, gentley move the zipper pouch out of the way. If punching with chisels, place a hard punching surface BETWEEN the edge and the zipper pouch. You do not want to punch into the zipper pouch. A good way of doing this is punching right on the edge of your table.
Need help with hand-stitching? Check out our saddle stitch tutorial.
Leather Selection Suggestions
In this video we used a panel of 3-4oz Horween Essex and 3-4oz natural American ‘vachetta’ leather from Wickett and Craig. Both were purchased from Buckleguy.com. 3-4oz is a great all around weight for this project. If you want to go heavier on the outside I suggest going thinner 2-3oz on the inside pieces.
Guidelines of Template Usage
We put a lot of time and effort into producing these templates, videos, and blog posts. Please do not distribute the template you have purchased from Makesupply. It’s not cool and hurts our feelings. However, you are free to do whatever you want with the end product you create using the template design. Even sell them on Etsy!
