I’ve been interested in natural dyes for as long as I have been leatherworking. Coffee, tea, indigo, black walnut hulls, even soy sauce are all easy to acquire alternatives to the world of manufactured water-based and oil-based leather dyes. I’ve come across some scattered results online but nothing that went over the dyeing process.
Looking to start selling your handcrafted leather goods and need an e-commerce platform? We recommend you start with what we use here at Makesupply… Shopify!
https://youtu.be/B1H6eTVmj9c<br>
Inventory of Supplies
- Natural Tooling Leather (2-3oz)
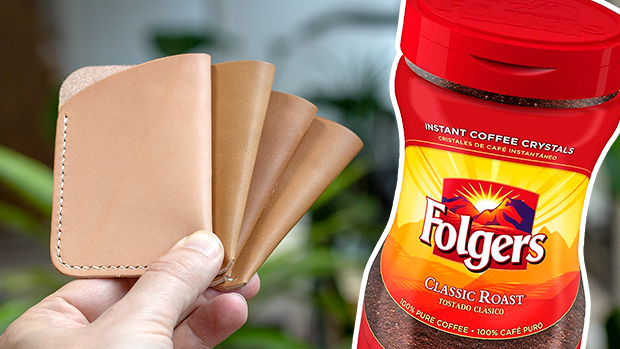
- Folgers Instant Coffee Crystals
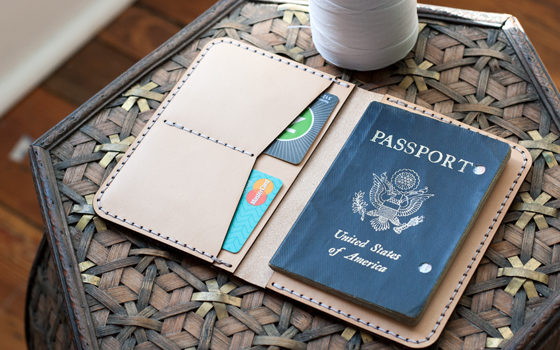
- Slim Wallet Downloadable PDF Pattern
- Distilled Water
- 3 Ball Jars
- 7″ pan
- Single Hot Plate
- Plastic Funnel
- Microfiber Cloth
- Chamberlains Leather Conditioner
- Diamond Stitching Chisels
- Thread and needles
Coffee Dyeing Process
I have watched a ton of videos on using natural dyes for fabric so I had an idea of how this process would translate. It would take submerging the leather in a dye bath for a duration of time to get any noticeable results. I imagine it would take even more to fully saturate a piece of leather.
Leather: I used 2-3oz natural vegetable tanned tooling leather for this project. If you are not familiar with this kind of leather, it is specifically tanned to be dyed and manipulated. It is completely undyed and untreated. A blank leather canvas.
Coffee: I decided to use instant coffee instead of brewing several pots of coffee grounds. You can do this method using regular brewed coffee.
Dye Duration: I cut 3 pieces of leather and filled up 3 jars with coffee and added the leather pieces. This is probably easier to do with a flat pyrex container but all I had was plastic and didnt want to fill them with hot coffee water. The jars worked fine. I decided on 1 hour, 4 hour, and 8 hour intervals. After each interval I removed the piece of leather and placed in on a paper towel to air dry. Make sure to allow the leather to completely dry.
Post Processing: After the leather dries 100% it will be very dry and inflexible. It almost resembles old parchment paper. I briskly buffed with a microfiber towel to remove any surface residue. You will need to introduce lubrication back into the leather fibers by using a leather conditioner or oil. Neatsfoot oil and Mink oil are standard favorites.
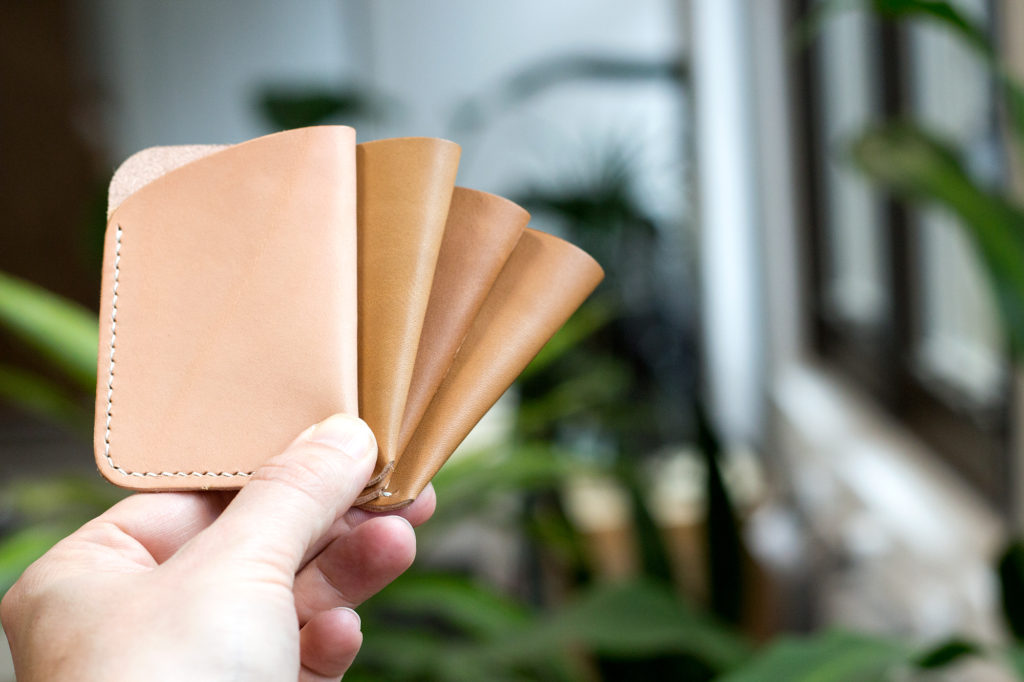
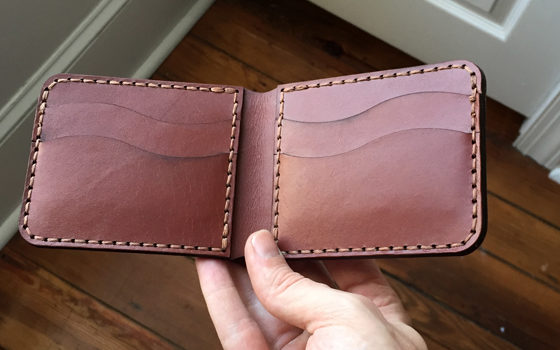
Results: The results were interesting. The “1 hour” took on a uniform light walnut color. The “4 hour” took on a deep walnut color that was a little uneven. The “8 hour” took on a medium walnut color that was very uniform throughout. I was surprised to see the “4 hour” coming out darker than the “8 hour”. I dont know why that happened but I would want to redo the process a few more times to see if was an anomaly.
Potential Pitfalls: The coffee dye will certainly work on your natural veg tan leather but I think there are a few things you need to watch out for. First, after dyeing the leather will be extremely dry. You MUST reintroduce lubrication back to the leather before working with it. If you have a design that requires folding (like the project I did here) the leather is liable to crack. Second, I might be concerned about mold issues developing in certain conditions. This is sometimes an issue any time you use organic oils, dyes, etc.
