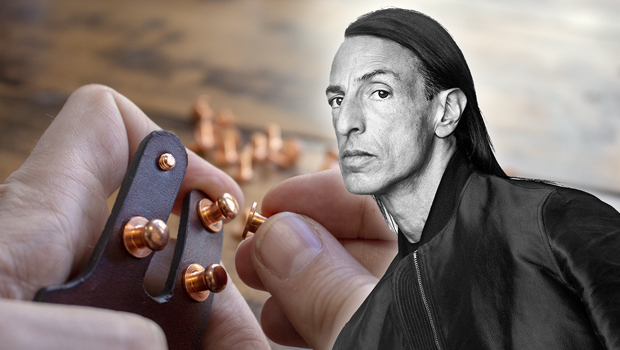
For the next installment of the Exploration Series we put together a short video showing some of the process and products used in creating a Rick Owens style leather cuff bracelet. All of the dimensions were estimated based on photos from the internet. Scroll down for some more information on the build process, the materials used, and some photos of the finished product!
Looking to start selling your handcrafted leather goods and need an e-commerce platform? We recommend you start with what we use here at Makesupply… Shopify!
Build Process
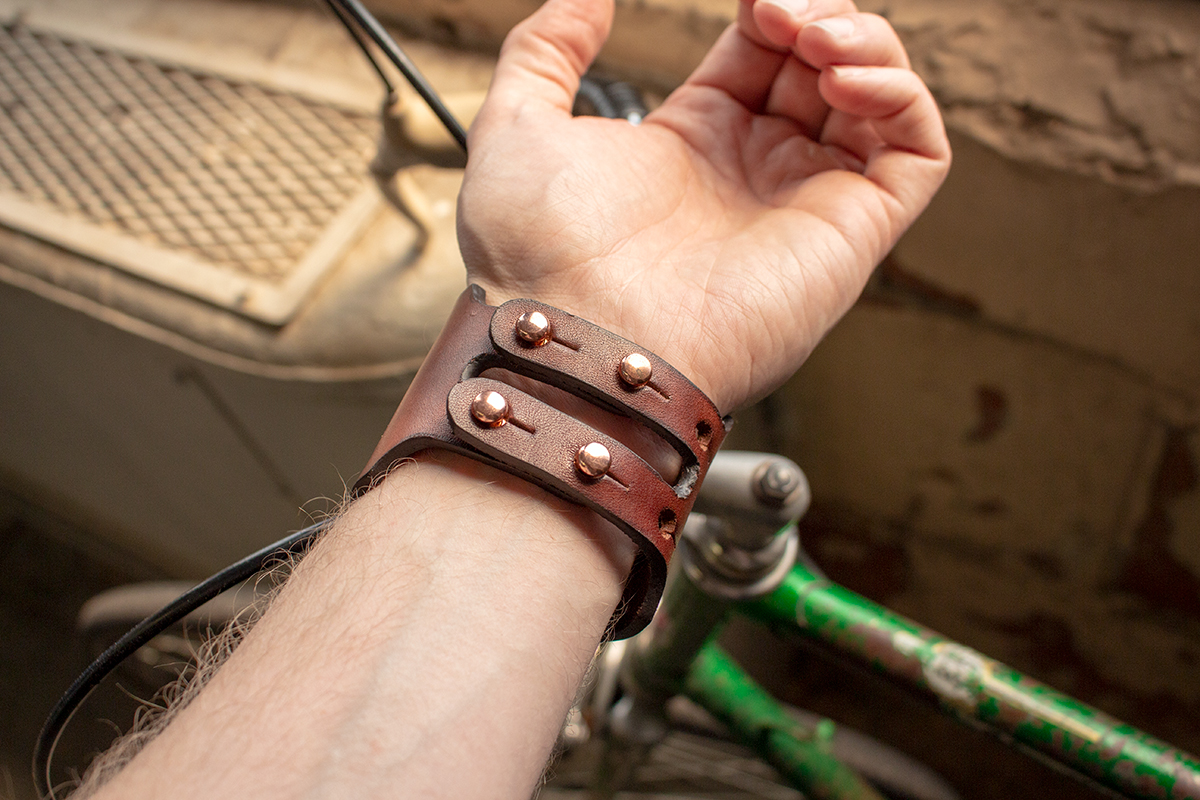
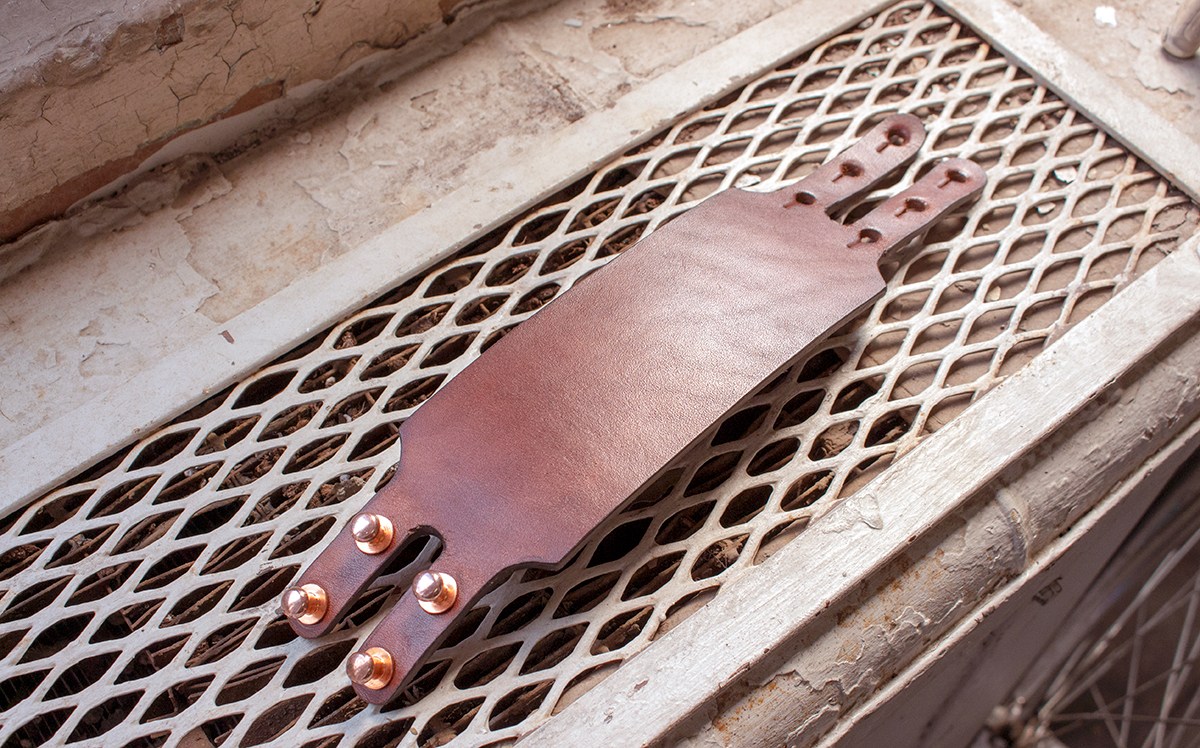
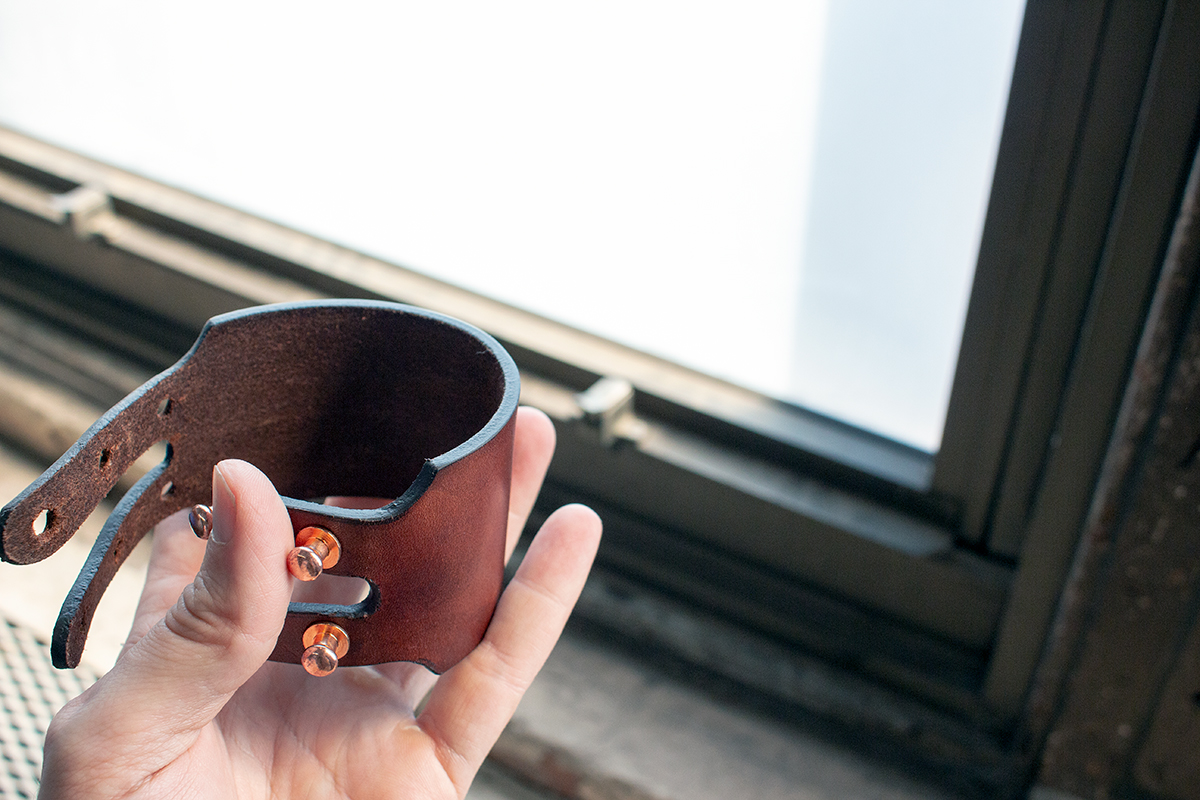
Design: The design process for this project was rather short since I was attempting to re-create an already existing bracelet design. Since I dont have one of these bracelets on hand I looked for as many photos of the item online to base my design from. The design is rather straightforward with a large cuff section and 4 straps that extend off the body to close the wrap. One (shorter) set of straps have 2 holes punched and hold the button studs. The other side has a long set of straps that have 3 “button head” style holes punched that line up with the studs on the other side.
Hole Punching: As mentioned previously this bracelet is secured entirely through 4 button studs. I am 99% certain that RO has their own custom button studs manufactured for them so us mere mortals just have to buy whats available online. There are many sources but I like to use USBIND for mine. You can also purchase the corresponding button head punch at their site as well.
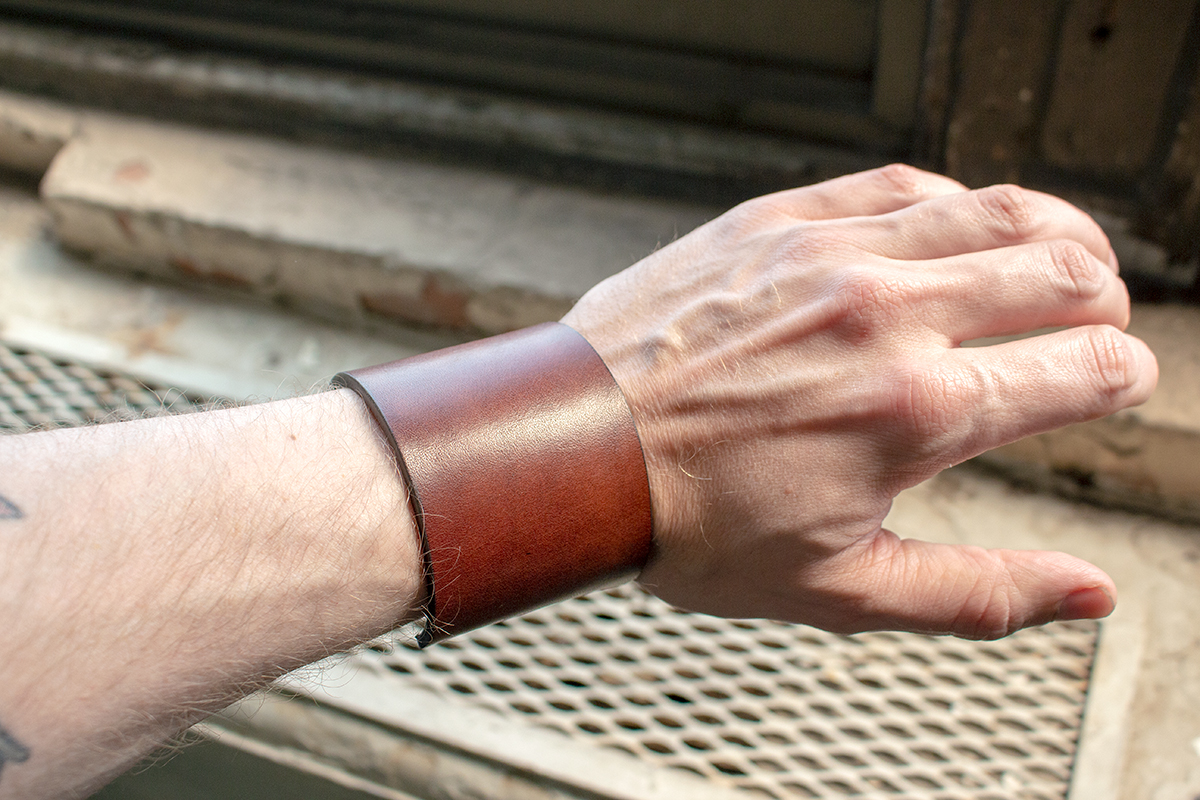
Leather and Leather Dyeing: The leather used in this project is 8oz natural tooling leather from Wickett and Craig. For this project I decided to use a dyeing method called “dip dyeing”. This is where, as you might have guessed, you dip the entire project into a dye bath instead of wiping or spraying it on. This method has positives and negatives. The positives are that it usually comes out very uniform in color and you have 100% coverage which looks more professional. The negatives are that there is a lot of extraneous dye involved and you will have to do a thorough job of buffing. I used Fiebings Pro Dye (dark brown) for this project. I love this dye because it has very solid coverage and doesnt dry the piece out like other dyes. After a serious amount of buffing I finshed the grain side with a few coats of caranuba cream.
Flesh Side and Edges: Being that I dip dyed this bracelet I had to consider what to do about finishing the flesh side (the back) of the bracelet. I opted to use a glass slicker and some gum tragacanth to compress the dyed fibers down and seal them off. The slicked down flesh side looks more professional and helps prevent dye transfer to skin or any clothing the bracelet may contact. To complete the project I used some Tandy Professional Edge Paint (dark brown) to seal the edges. Why not burnish you ask? Well, I was looking to recreate the look of the original bracelet as much as possible and that one comes with painted edges. Edge painting is nearly universally used in the world of leather fashion accessories. I applied 3 coats and in between sanded lightly with a high grit sandpaper. If you really want to up your edge painting game you can use a fileteuse!
