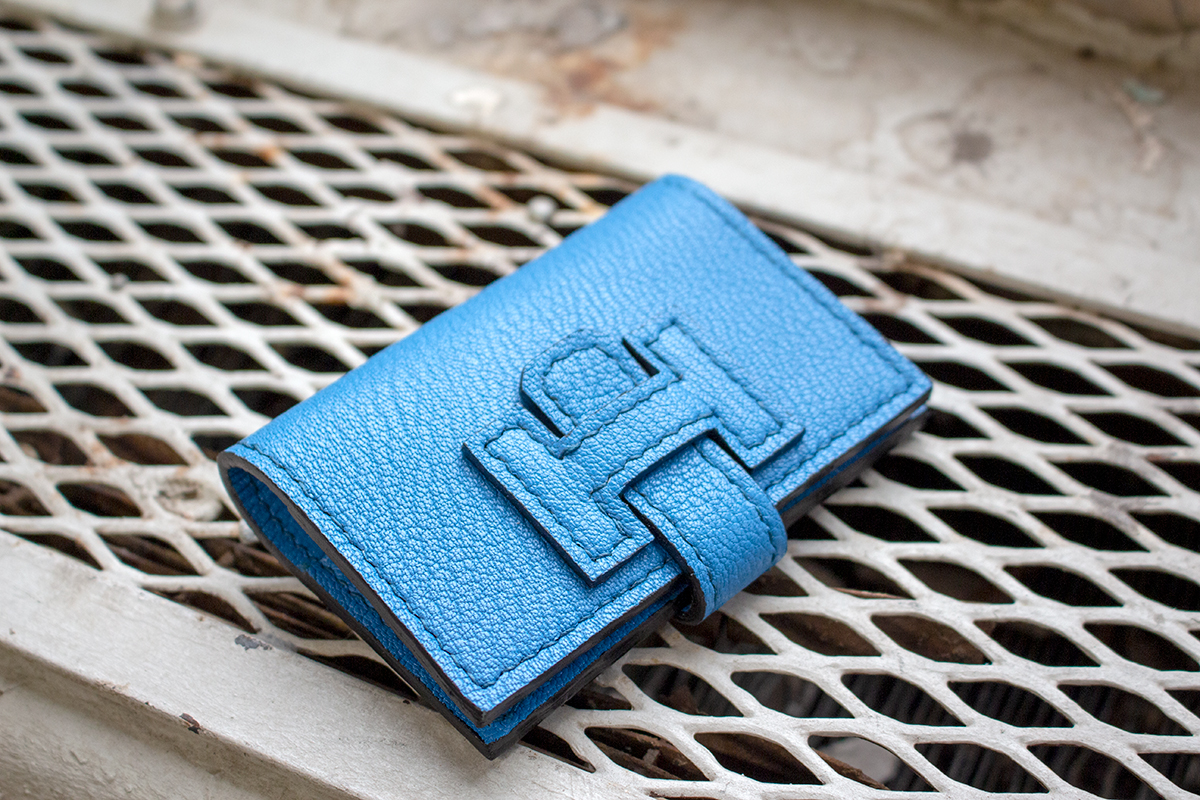
For this installation of the Exploration Series I take a stab at making a luxury “european style” folded card holder. This project had a couple firsts for me so I have some thoughts to share on where it went well and where it went wrong. You can check out the build process in the video below. Link to the PDF template I used at the bottom of this post. This is NOT a step-by-step tutorial video but can be referenced for help if needed.
Looking to start selling your handcrafted leather goods and need an e-commerce platform? We recommend you start with what we use here at Makesupply… Shopify!
Build Process
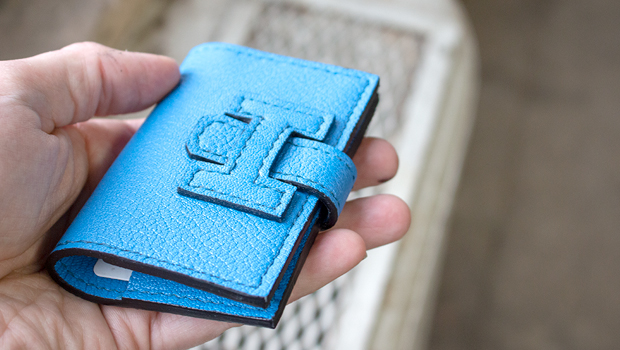
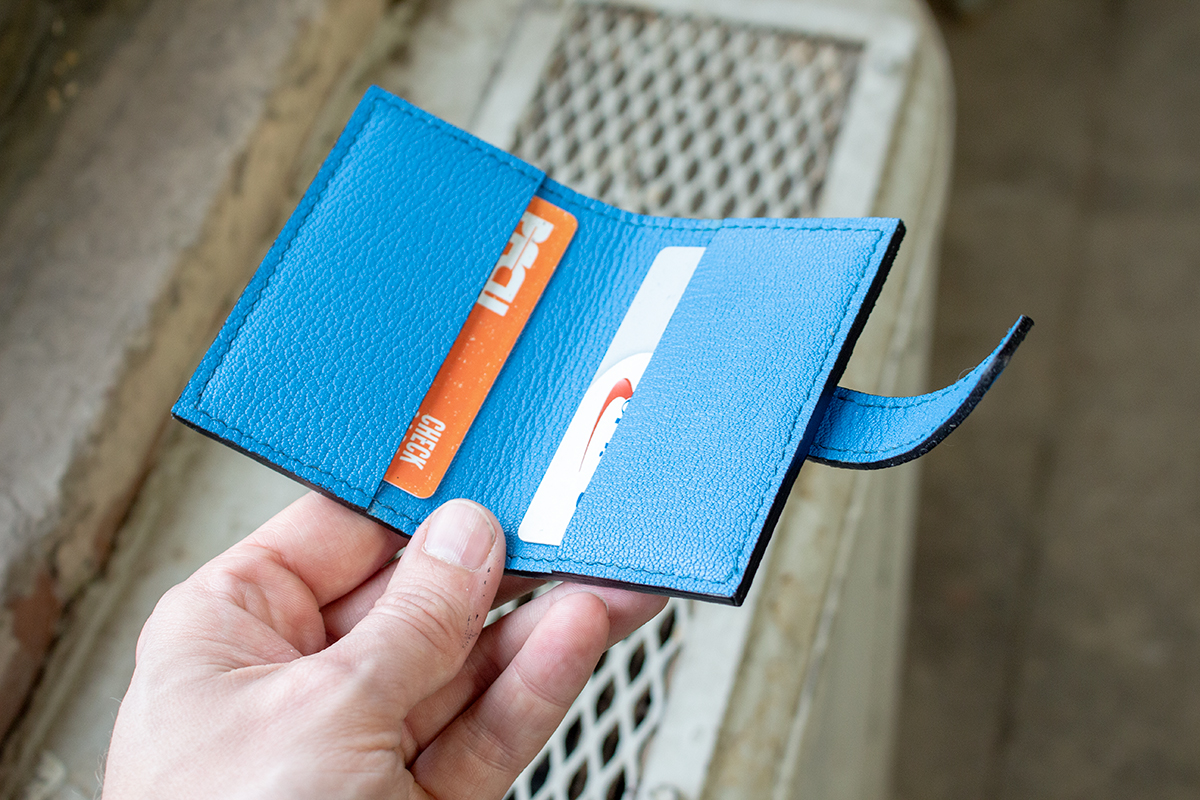
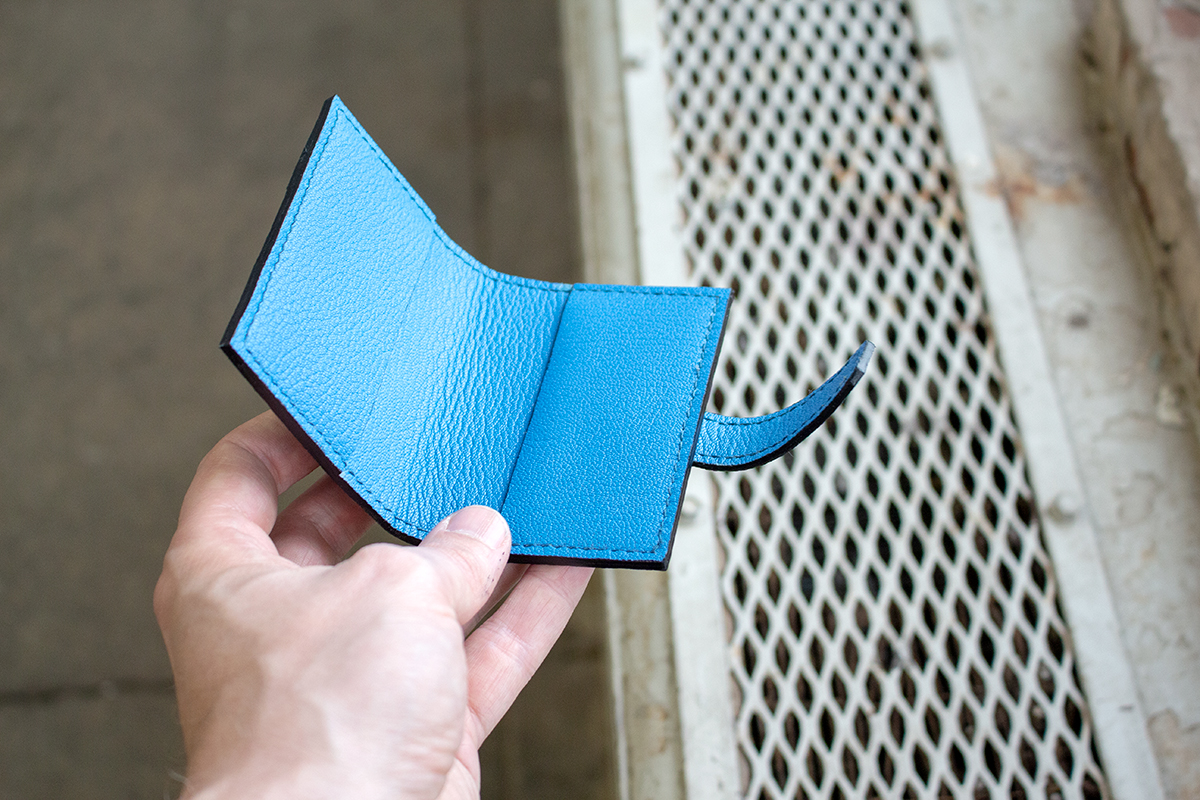
Design: The design for this card holder is a very basic folded design with a strap and “Hermes style” closure. When I refer to the aspects of european luxury style design I am not commenting on the overall craftsmanship or material selection. It is more the ethos of the aesthetic. I characterize this aesthetic (generally) as: Sharp lines with square corners, bright and textured leathers like Chevre or Saffiano grain, fully lined with leather, machine-stitched with matching thread color (no contrast) or hand-stitched with high SPI, black painted edges.
Leather Selection: To stay true to the luxury aesthetic I decided to use a bright blue goatskin (chevre) leather called Chevre Sully from Alran. This leather is extremely soft and “squishy” and features a very pronounced grain. Excellent choice for reproducing the style we are looking to achieve.
Thread Selection: The thread I chose for this project was Fil Au Chinois Waxed Linen in size 632 and color blue. The thread color is a little darker than the leather color which I kind of dont like, but it was as close as I could get. The thread size works perfectly though.
Edge Treatment: To seal edges I used Italian Edge Paint in matte black. This edge paint is pretty good however I think it is a little more glossy than I would prefer.
Considerations For Second Attempt
Overall I am OK with how this project came out since it was the first time I ever worked with this kind of leather. Here is a list of things I would want to do for my second attempt to get a more polished finished product.
Stitching Tools: I used Crimson 3.85mm diamond stitching chisels to make the holes for my stitching. In reality I think a slightly smaller SPI, maybe 3mm, would have looked better. Also I would prefer to use the standard pricking iron 45 degree angle holes as opposed to the diamond holes. I think the exaggerated “zig-zag” of the saddle-stitch looks more true to form. The thread size was great however I wish the color matched the leather more.
Saddle Stitching: The leather was MUCH softer than I was used to working with and the holes where easy to distort when stitching. Working with stiff veg tan leathers you can usually pull the stitch very tight and it sinks into place. With this leather, you have to be very mindful of your pressure to keep all of the stitches looking uniform.
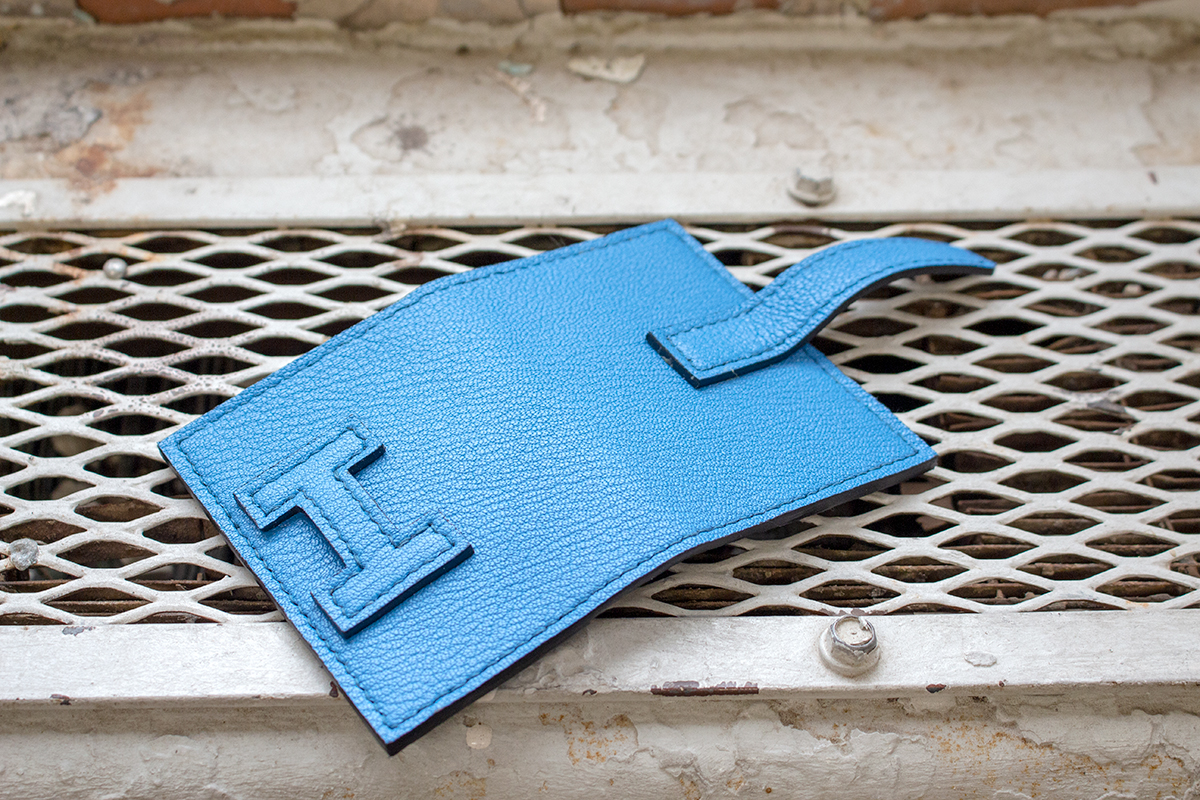
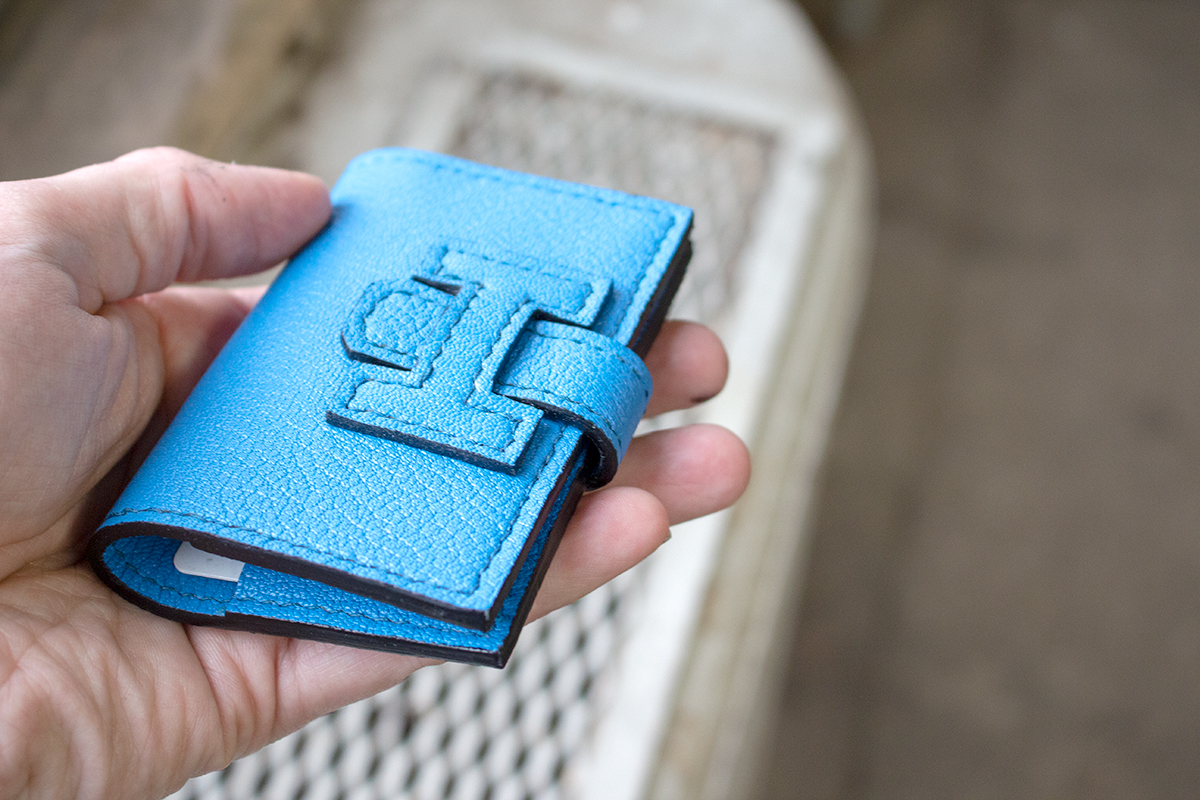
Strap Closure: I was attempting to emulate the closure of a Hermes clutch but think the dimensions were a little off. The closure is a bit too large for the size of the card holder. Going forward I would want to re-size to get a sleeker look. The stitching on the closure also looks a little clunky and in future versions I might try bringing the stitching closer to the edge.
Edge Finishing: It is extremely difficult to get nice painted edges without the use of a Fileutuse or other heated edge tool. Sanding in between coats helps smooth the ridges somewhat but you really need the heat application to get that final bit of uniform polish. I will look into purchasing a unit for the second attempt. For a final finishing touch I would like to use the heated creasing tool to put a crease between the edge of the piece and the stitches.
Finished Card Holder
Free PDF Template Download
Please remember to print at 100% scale and making sure auto-scale is turned off. Test your dimensions after printing to make sure it is the correct size.

5 comments
Thanks again as always for your beautiful work and willingness to share your patterns. If you get a Fileutuse, do you think you might post a tutorial video? I’ve been searching for some on YouTube but haven’t been able to find any.
Thanks!
Ken Smith
Hi Ken. Yes! I would totally make a video about using it I havent found anything comprehensive out there either.
Justin,
FWIW, I totally agree that using all of your considerations for a second attempt, especially using a smaller iron and the zig-zag style of stitching. I think that when you implement your consideration, it will be spot on.
Ken
Try the Vernis edge paint from Rocky Mountain Leather Supply. Has a nice matte finish. Good stuff.
Will look into it!
Comments are closed.