If its your first time making a bi-fold wallet we have gathered a couple tips to help you out in your journey.
1. Selecting Leather For Your Wallet
Choosing the right leather for your bi-fold wallet is very important. In this case the leather weight is more important than the type. Wallets tend to require stacking layers and if you are using a thicker leather the bulk will add up quickly. You will always have an outer shell layer, inner shell layer, and at least one layer for holding cards. If you are using 5oz leather for each of those pieces you are already at the 15oz mark for a bare minimum wallet!
A good guideline to follow is:
- Outer Shell: Up to 4/5oz
- Inner shell: 2 to 5oz
- Card pockets: Up to 3oz
Those combinations can be adjusted slightly but that gives you an idea of how you can select leather weights that will lend to non-bulky wallet.
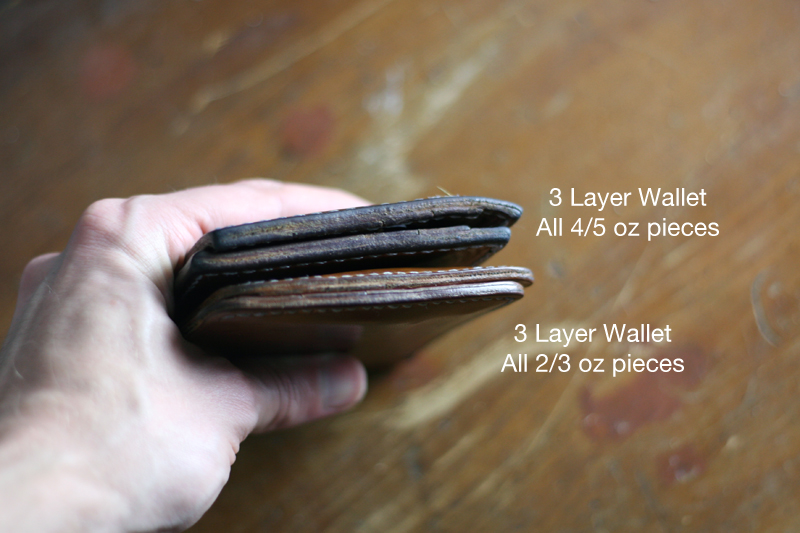
I personally dont like to go any higher than 4oz for the outer shell and keep the inner shell and card pockets in the 2/3oz range. Below is an example of two completed wallet sizes:
Both of these wallets have a pretty bare minimum amount of layers for a wallet. An outer shell, inner shell, and layer of card slots. You can see how much the thickness can add up!
2. Learn How To Make T-slots
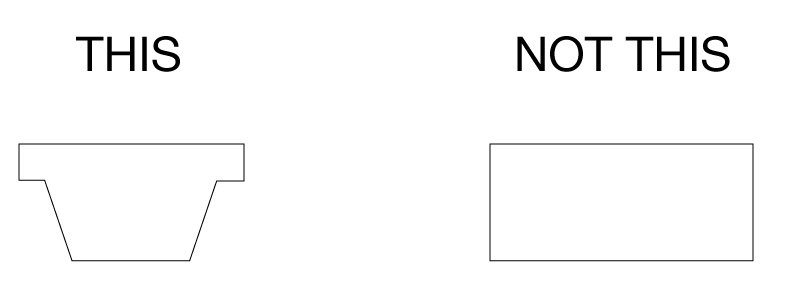
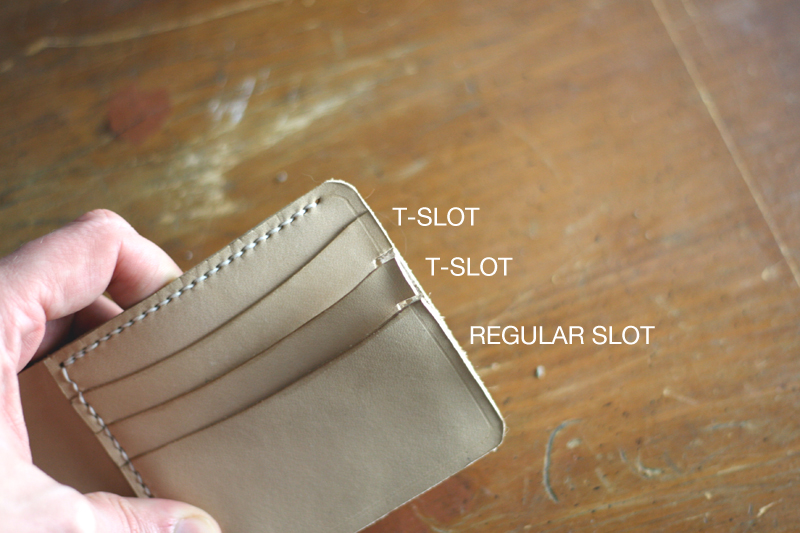
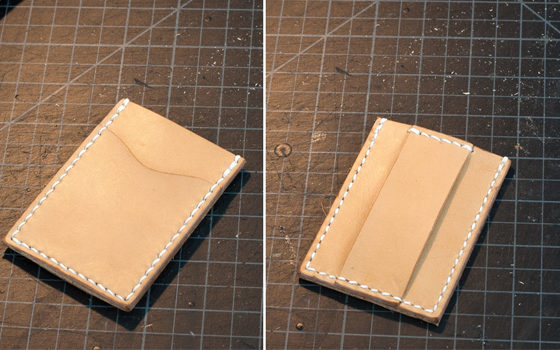
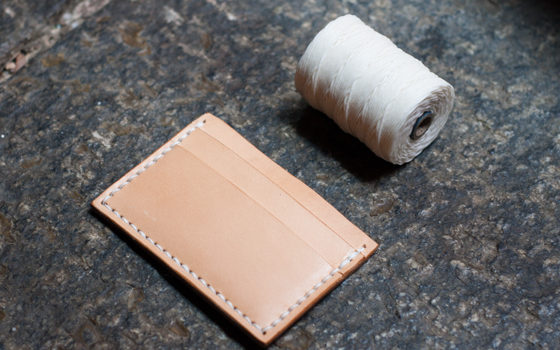
Adding card slots to your wallet design is another place where the bulk can add up quickly. Cutting your card slots into “T-slots” is what allows you add more storage and not add any additional size.
The T-slots will be used for all of your card slots EXCEPT the very last one which will be a regular rectangle shape. Take the wallet below as an example. There are 3 seperate slots for cards on this wallet. So we make 2 t-slots and one rectangle slot to close the bottom. If we stacked the rectangle slots on top of each other not only would this wallet be super thick but it would also be very uneven. As the rectangles stack, they add an extra layer to that section of the wallet. T-slots keep a uniform edge thickness no matter how many you put in your wallet!
3. Skiving Edges to Reduce Bulk
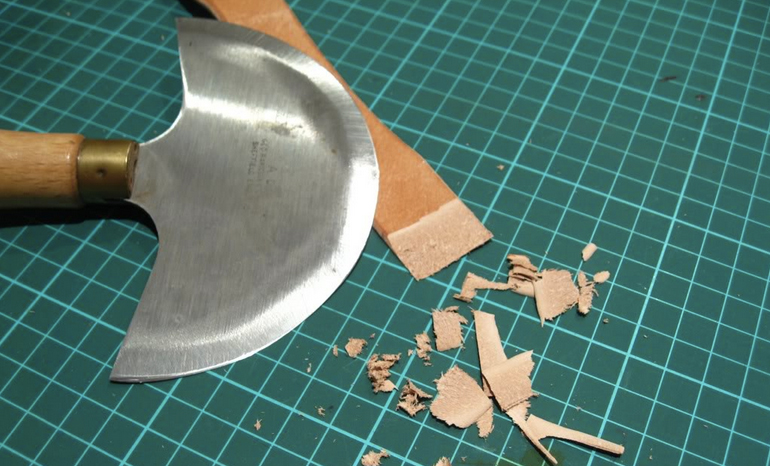
This next tip is a slightly more advanced technique that puts a professional touch to your wallet when executed correctly. Most leather goods manufacturers use a specialized machine called a Bell Knife to accomplish this task but you can do it by hand with a specialized knife or even a standard head knife.
By using your knife to remove some of the bulk of an edge it allows you to get away with using a slightly thicker leather but keep a slim and professional edge profile when you assemble your wallet. This step is absolutely essential if you plan on doing turned edges on any of your work.
4. Sizing Your Outer Shell
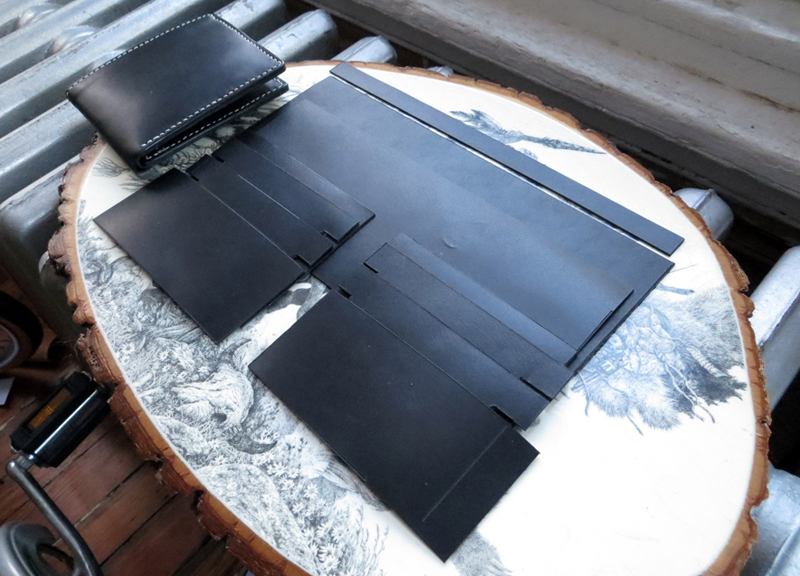
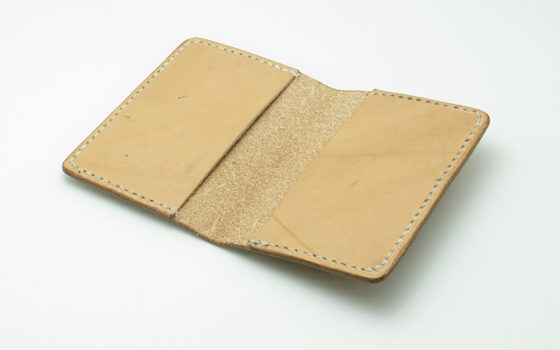
If you are a first time wallet maker this is an important step to do remember. When planning out your wallet pieces you have to remember that the outer shell needs to be slightly larger than the inside shell. If you make them both the same size the wallet will bind up when you try to fold it in half because it needs a little extra slack to accommodate the fold distance. Having a larger outer shell also causes the main bill compartment to open itself up a little bit when fully expanded. A good rule of thumb is in the half inch range. If your inner shell is 8.5 inches long then the outer shell should be 9 inches.
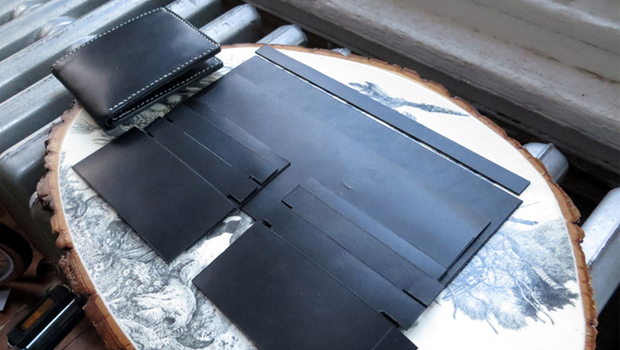
In the image below you can see the anatomy of a wallet I recently made. The outer shell is the larger piece in the back and is slightly longer than the inner shell which is directly on top of it.
